Creating Variations Configurations
In this lesson, we show you how to create variations configurations.
Variations configurations are used to generate variations for a page according to the rules defined in the variations configurations. The rules are quite simple; you need to add attributes to a variations configuration and select the attribute values you want in the generated variations. This lesson assumes you have completed the previous lesson on creating attributes and their values.
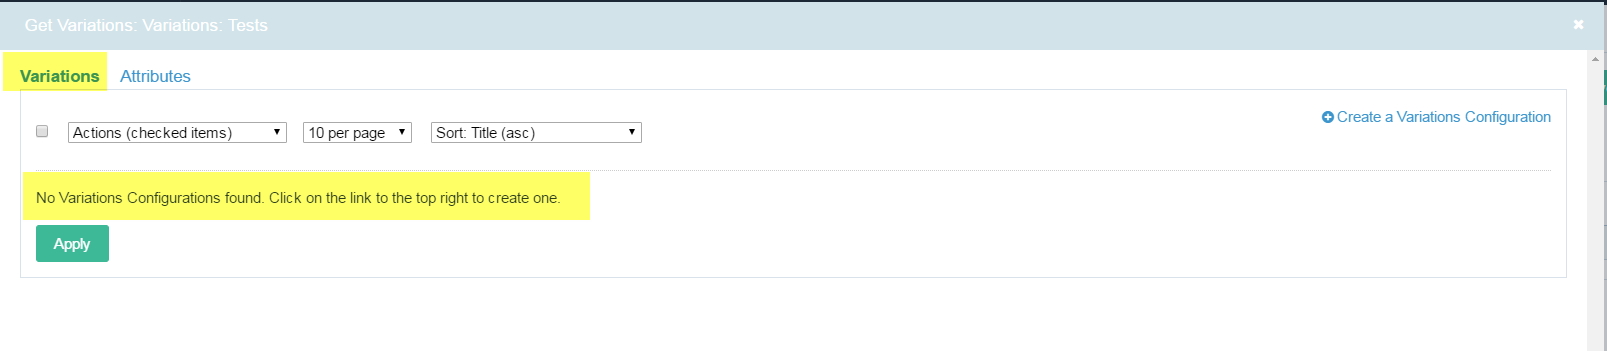
In the previous lesson, we ended by opening the modal window that shows the list of attributes. In the top navigation, click on Variations to open the variations configurations list page. Since you have not created any yet, you should be greeted by a no variations configurations found message.
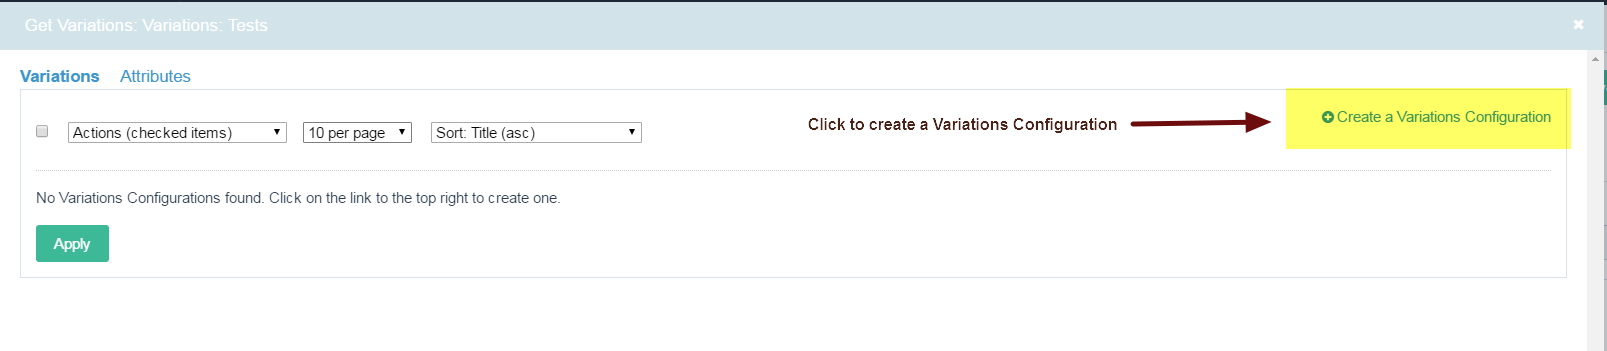
Let us now create a variations configuration. Similar to when we created a new attribute, click on the link on the link that says Create a Variations Configuration. It is on the top right of the modal window.
The link should open a form for to create a single variations configuration. The form is very similar to the one for creating/editing attributes. A title is required. A description is optional but highly recommended. Using that input, you can describe the varations configuration in as much detail/clarity as possible. Below the description, there are some notes which you shoud read if you are still new to creating variations configurations. Next, we have a section for adding attributes and attribute values. Let us get right to it by creating a variations configuration.
In this lesson, we will create a variations configuration that will be used to generate variations for a fictitious product. In this case, let us imagine we have an online shop that sells T-Shirts. In this particular case, we are creating a variations configuration for one brand of T-Shirt called Banjo. This line of T-Shirts comes in various sizes and colours. We want to use a variations field to create all the possible combinations of available colours and sizes.
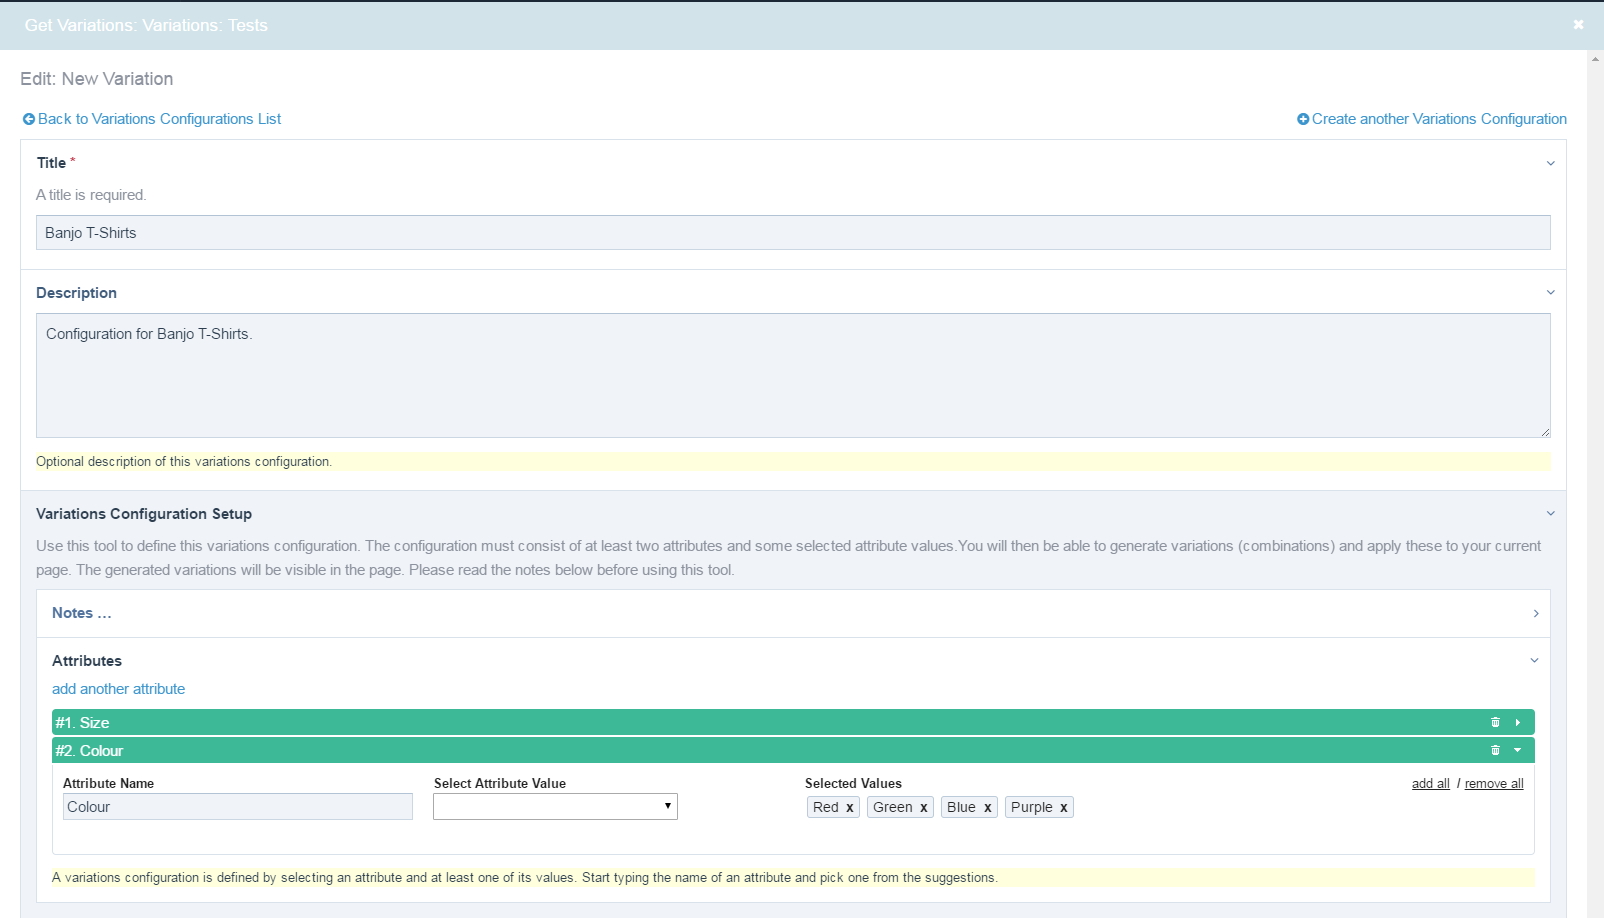
Give your variations configuration a title. We called ours Banjo T-Shirts. In the description we entered some text that will help us identify this confiugration. In the attributes section, we see there is already one empty input for an attribute created for us.

In the first Attribute Name input, start typing the word Size.The instant you type S, the attribute Size should be auto-suggested. Click to select Size as you have a look at the corresponding select dropdown under Select Attribute Value. A spinner icon notifies you that the select has been populated with the attribute values for Size. In the dropdown, select the attribute value Small. It should now be added to the list under the heading Selected Values.
In the select dropdown, the attribute value Small is now grayed-out and unselectable. In the Selected Values area, notice the x next to the attribute value Small. Click on that; the attribute value Small is removed from the Selected Values area. If you look in the dropdown Select Attribute Values, Small is now selectable.
In this variations configuration, all attribute values for Size will be needed. We can easily dd all of them at once. This is helpful when we have a long list of attribute values to select from. To add them all, click on the link add all. This is to the top right of sub-section for adding an attribute (see image below). Click on it now; all the attribute values for this attribute are added to the Selected Values area. These are Small, Medium and Long. Each has an x to its right which you click on to remove one value at a time.
Next to the add all link is the remove all. Yes, you guessed it. We use that to remove the respective values of the attribute. Click on it now; Small, Medium and Long disappear from the list of Selected Values. We need them though, so add them back in.
Technically, it is possible to have a configuration (hence variations) with only 1 attribute. In our case though, we need another attribute, Colour.
Click on the link add another attribute. A fresh sub-section to input a second attribute and its values is created. Notice that the first attribute, Size, is numbered #1 and the New Attribute is numbered #2. In the Attribute Name input for this New Attribute, start typing the word Colour. The attribute Colour is auto-suggested. Pick that. Its corresponding Select Attribute Value dropdown is auto-populated with the 5 colour names we created in the previous lesson. Click on add all to add all the values to this configuration.
Please note that the Inputifield (i.e. when editing the page with the Variations field) will through an error if in its variations configuration you have selected an attribute but did not input attribute values. On second thoughts, we realise we no longer do Yellow T-Shirts for the product we are creating this variations configuration for. Click on the x next to the attribute Yellow to remove it.
It is possible to reorder attributes in the configuration. Just click on its title bar and drag to desired position. To minimise/maximise an attribute sub-section, click on the arrow icon to its extreme right. To delete an attribute from the variations configuration, click on its respective trash icon, located to the right, next to its arrow icon. Please note that this action does delete the attribute itself; it only removes it from the variations configuration.
Click the Save button to save the variations configuration. Our configuration should resemble the following.
All we have done so far is to define a Variations Configuration. We have not yet linked it to the current page, i.e. the page that opened the modal window. There are two ways to do that. We can do it from the Variations Configurations List using Bulk Actions or when editing the variations configuration like we are currently doing. Below the Attributes section, there is a collapsed section titled Generate Variations from these Attributes and Apply to the current page. Clicking on that will reveal a checkbox to confirm that you want to apply/link the present variations configuration to the current page. When you save the variations configuration, the connection will be established. For now though, let us skip doing that.
To create another variations configuration, click on the link Create another Variations Configuration located on the top right of the modal window. For now, we do not want to do that. Instead, we click on the link Back to Variations Configurations List located on the top left of the modal window. That will take us the variations configurations list.
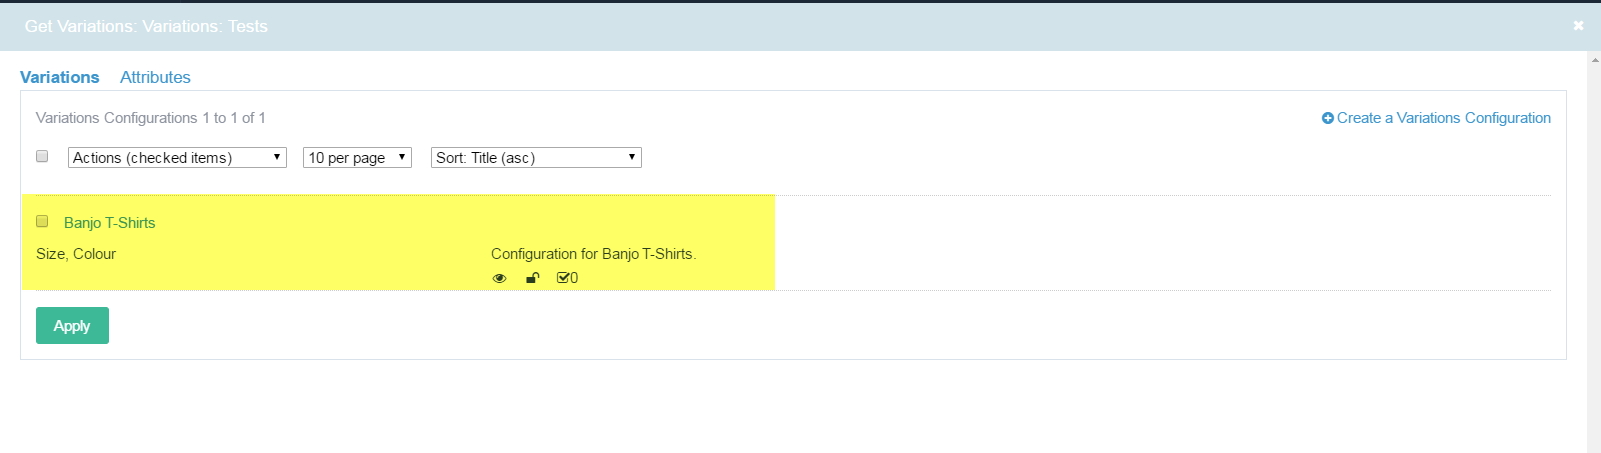
The variations configuration we just created, Banjo T-Shirts is listed on that screen. Below the configurations title are comma-separated names of the attributes that make up the variations configuration. Alongside these, toward the middle of the HTML table row is the description of the configuration if you had specified one. Otherwise, a message saying no description found will be displayed. Below the description are a number of icons symbolising the status of the variations configuration, i.e. whether it is published or not, if it is locked or unlocked and whether it is linked to any page as well as how many times it is in use.
In the topic about Bulk Editing Variations Configurations, we will look at the actions that can be applied to multiple variations configurations. At the moment, we want to link our newly created variations configuration to the current page. We address this in the next lesson.